
Taste Any Wine in Under 2 Minutes: 5 Step WSET Sequence for Beginners


Taste this way first: look, swirl, smell, sip, savor, then note balance and preference. This maps directly to the WSET Level 2 Systematic Approach to Tasting, which sequences appearance, nose, palate and conclusion. Use a clear glass, pour small amounts, jot quick notes and pace yourself. Aroma recognition is a skill you build, not a talent you’re born with, so trust what you actually notice.
TL;DR:
Proper wine tasting involves a structured sequence of appearance, nose, palate, and conclusion, each answering specific questions about the wine.
Using the right glassware, small pours, and proper serving temperatures enhances the ability to evaluate aroma, color, and structural elements accurately.
Comparing wines side by side by variable, such as region or oak treatment, significantly improves flavor memory and discrimination skills.
Spitting during tastings and pacing yourself between pours help maintain judgment and avoid over-intoxication when tasting multiple wines.
Guided group experiences with expert feedback accelerate learning by providing real-time identification of tactile sensations like tannin or acidity.
Table of Contents
Step-by-Step Tasting: Look, Swirl, Smell, Sip, Savor
Running a proper tasting takes less than two minutes per wine once you know the sequence. Each stage answers a different question, and skipping one means guessing at the next.
Look. Tilt the glass against a white background and check three things: clarity, intensity and color. A hazy wine may be unfiltered or, in rare cases, flawed. Pale straw usually signals a lighter, younger white; deep ruby often points to a fuller-bodied or older red. Color alone never confirms grape or region, so treat it as a clue, not a conclusion.
Swirl. Keep the glass on the table and rotate the base in small circles rather than lifting it into the air. This releases aromatic compounds without the spill risk that comes with an airborne swirl. Watch the “legs” or “tears” that run down the inside of the glass afterward: they hint at alcohol and sugar content, though they say nothing about quality.
Smell. Start broad. Ask which family the aroma belongs to before hunting for a specific descriptor:
Fruit: citrus, stone fruit, tropical fruit, red or black berries.
Floral: violet, rose, blossom.
Herbal or spice: green pepper, black pepper, dried herbs.
Earth or oak: wet stone, forest floor, vanilla, toast.
Take one short sniff, swirl again, then take a longer, deeper sniff. According to WSET’s guidance on palate training, starting with broad families and refining only when a clear association appears prevents the guessing spiral that frustrates most beginners.
Sip. Take a small mouthful and let it coat your entire mouth, tongue, cheeks and gums. Draw a little air through your lips while the wine is still in your mouth: this pushes aroma up to your olfactory receptors and sharpens flavor. Then work through the structural checklist:
Sweetness: is it dry, off-dry or sweet on the tip of your tongue?
Acidity: does your mouth water, especially along the sides of your tongue?
Tannin: does the wine leave a drying, gripping sensation on your gums (mostly reds)?
Alcohol: does it produce warmth at the back of your throat?
Body: does it feel light like skim milk or full like cream?
Finish: how long does the flavor linger after you swallow or spit?
Savor and conclude. Once you’ve worked through the checklist, ask whether the elements feel balanced, meaning no single one (acid, tannin, alcohol, sweetness) overwhelms the rest. Then form a plain preference statement: “I liked this because it was crisp and light” is a complete, valid conclusion. Resist the urge to name a grape or region unless you’re genuinely confident. WSET’s own framework treats observation and conclusion as separate steps precisely because guessing early biases everything that follows.
Preparing to Taste: Glassware, Pour Size, Temperature and Setup
The right setup removes most of the guesswork that trips up new tasters. A few small adjustments make the difference between a confusing glass of wine and a readable one.
Use a clear, stemmed glass with a tulip-shaped bowl that narrows toward the rim; it concentrates aroma and lets you judge color without a colored bowl distorting it.
Hold the glass by the stem or base, not the bowl, so your hand doesn’t warm the wine or smudge the surface you’re checking for clarity.
Pour small samples, roughly 30 to 60 milliliters (1 to 2 ounces), which is enough to swirl and taste without overloading your palate across several wines.
Serve whites and rosé chilled, reds at cool room temperature, and sparkling wine the coldest of all; if you can’t hit these exactly, a bucket of ice water for 10 minutes cools most bottles enough.
Taste against a white background in neutral light, away from strong scents like perfume, scented candles or nearby cooking, since smell is the sense you’re relying on most.
Keep plain water and a neutral cracker or bread nearby to reset your palate between wines.
If you’re heading to a hosted tasting rather than tasting at home, bring a small notebook or pen, wear comfortable closed shoes if the venue includes a vineyard walk, and ask questions rather than performing confidence you don’t have. Staff generally prefer a curious beginner to someone pretending to know terms they don’t.
Pro Tip: Taste whites before reds and lighter wines before fuller ones; going the other way flattens your ability to notice acidity and delicate aromas in what follows.
Cooler weather changes what you notice in a glass, and a short guide to winter wine tasting covers how temperature and clothing choices affect what you pick up on the nose.
Reading the Nose: Aroma Families and Simple Drills
Smell does most of the heavy lifting in wine tasting. The tongue only detects sweet, sour, salty, bitter and umami, while the nose picks up hundreds of distinct aromatic compounds, which is why professional tasters spend more time sniffing than sipping.

WSET’s approach to palate training recommends naming the broad family first: fruit, floral, herbal, spice, earth, oak or tertiary notes (the deeper, aged characteristics like leather or dried fruit). Only refine to a specific descriptor once you’re confident, and treat every guess as low-stakes.
A few drills speed this up considerably:
Line up small jars with a single ingredient each (lemon zest, dried thyme, vanilla pod, wet soil from a plant pot) and sniff each one for five seconds before smelling the wine again.
Do a blind sniff: have someone hand you two glasses without telling you which is which, and try to describe the difference before looking.
After swirling, take three short sniffs in a row rather than one long inhale, since your nose adjusts and fatigues quickly.
Smell common foods in your kitchen (coffee grounds, black pepper, orange peel) right before a tasting session to warm up your aroma memory.
For note-taking, use a simple template: family, then intensity (light, medium or pronounced), then two specific descriptors. “Fruit, medium intensity, ripe lemon and white peach” is more useful six months from now than “smells nice.”
Broad-to-specific naming avoids the pressure to sound like an expert on the first sniff.
Repetition, not natural talent, is what builds a reliable aroma memory over time.
Evaluating the Palate: Sweetness, Acidity, Tannin, Alcohol, Body and Finish
Once the wine is in your mouth, you’re checking six structural elements, and each one has a physical cue you can actually feel rather than just guess at.
Sweetness sits on the tip of your tongue; dry means no perceptible sugar, sweet means an obvious sugary taste.
Acidity shows up as mouth-watering along the sides of your tongue and cheeks; the more your mouth waters, the higher the acid.
Tannin, found mostly in red wine, feels like a drying or gripping sensation on your gums and the inside of your cheeks.
Alcohol produces a warming sensation at the back of your throat after you swallow.
Body is a weight sensation, closer to skim milk (light), whole milk (medium) or cream (full).
Finish is simply how long the flavor lingers, described as short, medium or long.
A fast way to feel the difference is a two-glass comparison: taste a crisp, high-acid white like a Sauvignon Blanc side by side with a rounder, lower-acid white. The contrast in mouth-watering sensation becomes obvious within seconds, which is far more instructive than tasting either wine alone.
Balance is where these elements come together: no single component should dominate the others. A wine can be technically well-balanced and still not be your preference, and that distinction matters because quality and personal taste are two separate judgments. Beginners often conflate “I didn’t enjoy it” with “it’s a bad wine,” when the wine may simply not suit their palate.
Beginner shorthand for palate notes
Element | Simple scale |
Sweetness | Dry, off-dry, medium, sweet |
Acidity | Low, medium, high |
Tannin | Low, medium, high |
Alcohol | Low, medium, high |
Body | Light, medium, full |
Finish | Short, medium, long |
WSET’s own teaching material sets out these exact scales for structured tasting notes, using dry through sweet for sweetness, low through high for acidity, tannin and alcohol, light through full for body, and short through long for finish, according to the WSET Level 2 Systematic Approach. Writing your notes in this order, appearance, nose, palate, then conclusion, keeps you from jumping to a verdict before you’ve actually observed anything.
Practice Formats: Flights, Comparisons and Daily Drills
Improvement comes from comparison, not from tasting one wine at a time in isolation. A side-by-side flight makes differences obvious that would otherwise slip past unnoticed.
Build a flight of three or four bottles that isolate a single variable: same grape from different regions, oaked versus unoaked Chardonnay, or a range of vintages from one producer.
For each flight, ask one specific question before you start, such as “does oak change the fruit character here, or just add vanilla and toast?”
Taste in the same order every time (lightest to fullest) so you’re comparing wines fairly rather than letting an earlier, bolder wine mute your sense of a lighter one.
Run a two-minute daily aroma drill using whatever is in your kitchen: smell a lemon, then dried oregano, then a splash of vanilla extract, and try to name each without looking.
Keep a simple tasting diary, even a few lines per wine, and revisit old entries after a month to see how your descriptions have sharpened.
WSET’s guidance on palate training points specifically to comparison exercises, tasting two wines that differ by one variable, as one of the fastest ways to build flavor memory, because your brain locks onto the difference rather than trying to memorize an isolated impression. The same logic works outside wine, as this guide to building a coffee tasting flight at home demonstrates with a different beverage entirely.
Pro Tip: Space your wines out with a sip of water and a minute’s rest between each one; tasting more than five or six in a row without a break dulls your palate and flattens every wine that follows.
Responsible Tasting and Winery Etiquette
Tasting several wines in one sitting means managing your intake deliberately, not just enjoying the moment. A spittoon exists for exactly this reason: spitting after each sip lets you evaluate flavor fully while keeping your palate and judgment sharp through the next pour.
A standard drink contains about 10 grams of pure alcohol, according to Alcohol, and a small 30 milliliter tasting pour of a typical wine is a fraction of a full standard drink, though several pours across an afternoon add up faster than most people estimate by eye.
Pace yourself between pours and drink water alongside every second or third wine.
Spit rather than swallow whenever you’re sampling more than three or four wines.
Eat something substantial before or during a tasting session.
Plan transport before you start, since driving ability is affected after any alcohol consumption and arranging a driver in advance avoids an awkward decision later.
Winery visits carry their own etiquette on top of tasting manners. NZ Wine’s visitor guidance recommends staying within designated areas, avoiding contact with vines, and asking staff before entering production spaces or walking through vine rows, since these practices protect both visitors and the vineyard itself. Clean footwear before a visit and a willingness to follow site-specific instructions go a long way toward being a welcome guest rather than a liability.
Why Guided Small-Group Tastings Speed Up Learning
Reading about tannin is one thing. Having someone point at your glass and say “that gripping feeling on your gums, that’s the tannin” while you’re tasting it is another. Live feedback from an instructor closes the gap between a checklist and an actual felt sensation far faster than solo practice alone.
At The Italian on Waiheke, tours run in groups of up to six guests, which keeps the pace personal rather than rushed. That size means a beginner can ask an inexperienced question mid-flight and actually get an answer before the group moves on. Curated visits to boutique vineyards give structure to the kind of side-by-side comparisons this guide has been building toward, and food pairing demonstrations show how a wine’s acidity or tannin shifts when it meets a dish, which is difficult to grasp from notes alone.
Transport is arranged as part of the experience, which removes the planning burden this guide covers above.
If you’re evaluating any guided tasting option, not just ours, judge it on group size, how clearly the itinerary is laid out beforehand, whether meals are included, and how transport is handled. Those four factors tell you more about how much you’ll actually learn than any marketing claim will. A look at Waiheke’s more curated wine experiences gives a sense of what a well-structured guided day can look like in practice.
— Luca
Turning What You’ve Learned Into a Real Tasting Day
Reading through a checklist gets you comfortable with the terms. Doing it in front of the actual wine, with someone answering your questions in real time, is what makes it stick.
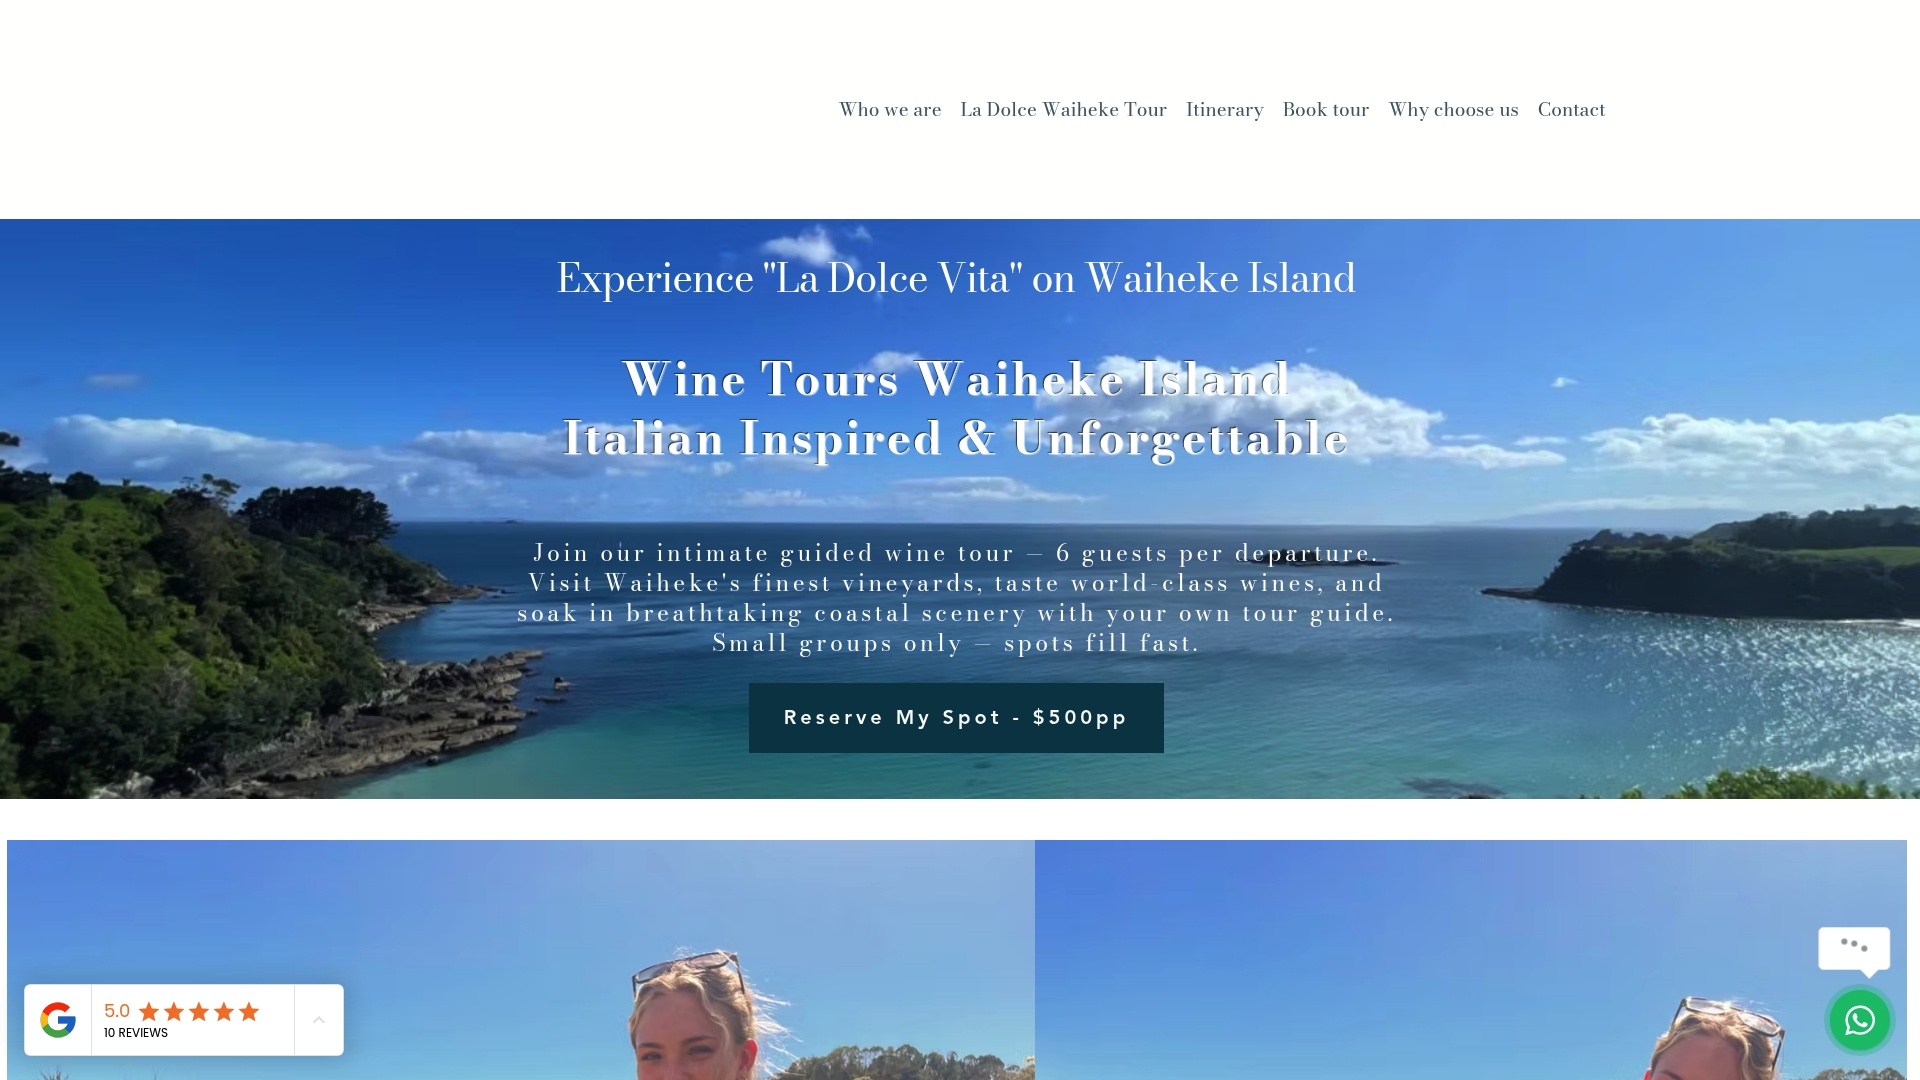
The Italian on Waiheke runs a few formats built around exactly this kind of learning. The La Dolce Waiheke Tour pairs curated boutique vineyard visits with guided tasting flights suited to a first-timer’s pace. The Michelin Star Waiheke Experience layers in a full food and wine pairing menu, which is a fast way to feel how acidity and tannin behave differently against a dish. A Private Tour is the closest thing to one-on-one instruction, useful if you want to move through the sequence at your own speed without a group around you.
La Dolce Waiheke Tour: guided flights and vineyard visits for a first tasting day.
Michelin Star Waiheke Experience: structured food and wine pairing to feel palate elements in context.
Private Tour: paced instruction for a smaller group or a couple.
Groups stay capped at six guests, transport is handled for you, and pacing is built around actual tasting, not rushing through pours. If you’re ready to put the sequence from this guide into practice, book a tasting day and taste responsibly, spitting when you’re sampling several wines and pacing yourself between pours.
Sources
FAQ
What is the best wine for a beginner to start tasting with?
There’s no single official “best” starter wine, but a light, low-tannin white such as a crisp Sauvignon Blanc is often easier to read than a heavy, tannic red, since its acidity and fruit are more obvious to a new palate. Starting with simpler wines lets you practice the sequence, look, swirl, smell, sip, savor, before tackling more complex structures.
What are the 5 S’s for wine tasting?
The common beginner shorthand is see (or look), swirl, smell, sip and savor, which maps closely to the WSET Systematic Approach to Tasting sequence of appearance, nose, palate and conclusion. Each step builds on the last, so skipping ahead to sipping without looking or smelling first means missing useful clues.
What is the 20/20/20 rule for wine?
This isn’t a term used in WSET’s published tasting framework or standard industry guidance, so definitions vary depending on where you encounter it. Rather than chase an unofficial rule, stick to the appearance, nose, palate and conclusion sequence, which is the documented standard taught in structured wine education.
What is the easiest way for a beginner to learn about wine?
Comparison is the fastest route: tasting two wines side by side that differ in one clear way, like oaked versus unoaked, teaches your palate more in five minutes than tasting several unrelated wines alone. Guided tastings that include live feedback, such as a small-group tour, speed this up further because someone can point out exactly what a term like “tannin” or “acidity” feels like as you taste it.
Recommended
Comments